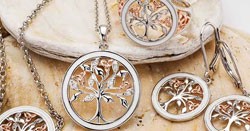
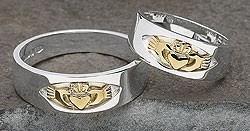
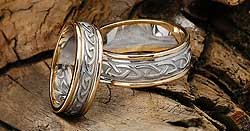
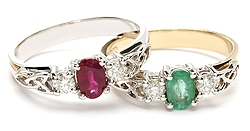
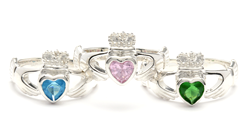
In this section we will take a step by step walk through the making of the Claddagh ring. Pictures taken from our crafts workshop in Dublin, Ireland.

Final Step
The final result is the master pattern intact & the perfect impression made in the mould.
 Step 1 The rough silver is melted in the crucible. |
 Step 2 When the silver is in liquid form it can be poured into the ingot. |
 Step 3 When the silver has cooled it can be taken out of the ingot. |
 Step 4 We now have the bar form. |
 Step 5 The bar is put through the rollers to get the shape right. |
 Step 6 The metal is gradually brought down to the right thickness. |
 Step 7 The strip of metal is hammered round. |
 Step 8 The guideline is carved into the round piece. |
 Step 09 Finally the claddagh pattern is drawn onto the metal. |
 Step 10 The pattern is drawn on the rough silver & carefully cut out by saw. |
 Step 11 A sawblade of only 1.2mm is used for better accuracy with this delicate work. |
 Step 12 The hands & crown are shaped better before the heart can be inserted. This is done using a safetyback needle file. |
 Step 13 The heart is now shaped from rough silver using saw & file. |
 Step 14 The master craftsman gets the heart exactly correct. |
 Step 15 The heart is gently hammered into place. |
 Step 16 Only when he is absolutely certain that everything is perfect does he solder the heart permanently into the ring. |
 Step 17 A variety of different shaped tools called Scorpers are used. |
 Step 18 At this point the last of the detail is carved into the ring. |
 Step 19 Each area is painstakingly detailed. |
 Step 20 Every detail must be perfect to ensure that later copies are up to standard. |
 Step 21 Every detail must be perfect to ensure that later copies are up to standard. |
 Step 22 The sides are mopped to remove marks from the felt. |
 Step 23 The front is mopped to remove emery marks. |
 Step 24 The bristle brush is ideal for the hard to reach places. |
 Step 25 For the very last stages the polisher changes to much less abrasive mops called "rouge mops". |
 Step 26 This is how the piece gets it’s mirror finish. |
 Step 27 Finally the claddagh is blasted by a pressurized jet of steam. |
 Step 28 Strips of rubber are cut in the size of the frame. |
 Step 29 The impression of the master is made and then cut from the rubber. |
 Step 30 The impression of the master is made and then cut from the rubber. |
 Step 31 The cut outs are used to fill in the area around the piece until it is covered. |
 Step 32 The piece is inside layers of rubber & placed in the frame. |
 Step 33 The mould has been forced under great pressure for 20 hours. |
 Step 34 The mould maker can now begin to cut out the master pattern. |
 Step 35 Great care has to be taken not to deface the impression left in the mould.... |
 Step 36 .....great care has to be taken not to deface the impression left in the mould. |
 |
 |

Final Step
The final result is the master pattern intact & the perfect impression made in the mould.
Did You Know?
Claddagh is the name is a small fishing village in the West of Ireland.

